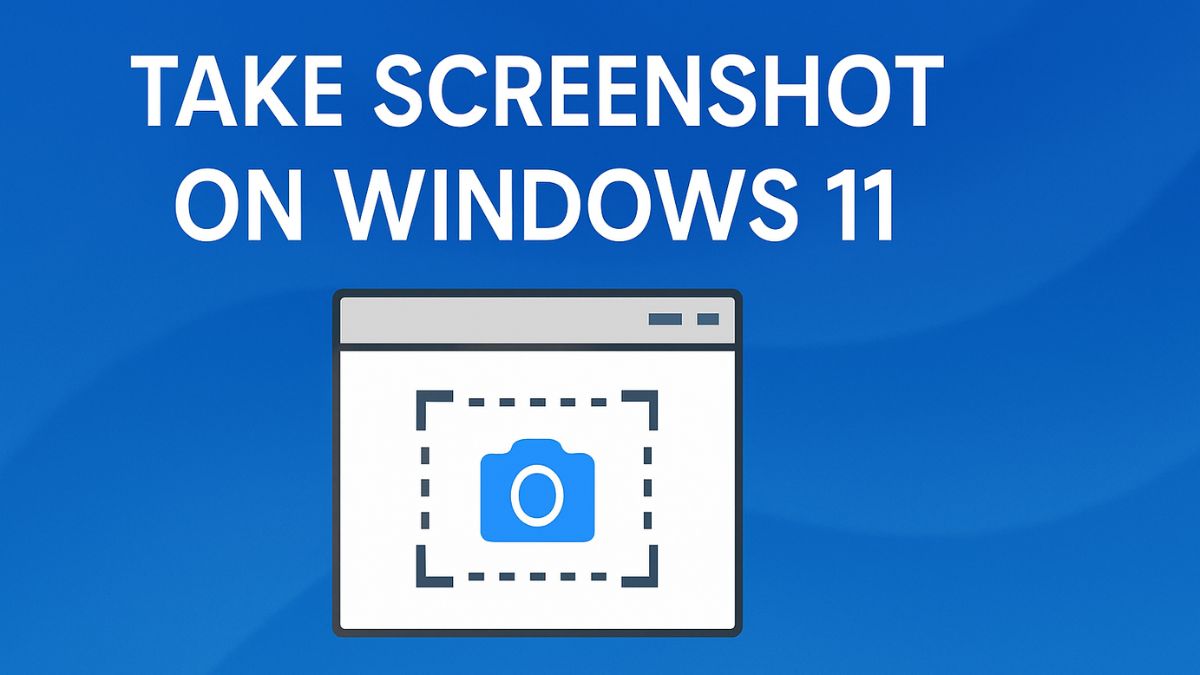
Taking screenshots is one of the most useful skills for any Windows 11 user. Whether you need to save important information, capture an error message, create tutorials, share content with friends, or store online receipts, screenshots make it easy to preserve exactly what appears on your screen. Windows 11 offers several built-in screenshot tools, from simple keyboard shortcuts to advanced snipping features, making it easy for beginners and professionals alike.
Many users only know about the basic Print Screen key, but Windows 11 includes multiple ways to capture your display more efficiently. You can screenshot your entire screen, select a custom area, capture a single app window, or even use scrolling screenshots for webpages. In addition, Microsoft has improved the Snipping Tool, making it one of the best built-in utilities for screen capturing and annotation.

This guide explains all the major methods to take screenshots on Windows 11, along with tips, editing options, troubleshooting solutions, and recommendations for different types of users.
What Is a Screenshot in Windows 11?
A screenshot is an image capture of what is currently displayed on your screen. It allows you to save visual information instantly without using a camera or external device.
Common screenshot types include:
- Full-screen screenshots
- Active window screenshots
- Selected area screenshots
- Scrolling screenshots
- Timed or delayed captures
Screenshots are useful for:
- Saving online receipts
- Recording software issues
- Sharing game achievements
- Creating tutorials
- Capturing social media posts
- Keeping records of conversations or documents
Windows 11 makes screenshotting faster and more flexible than previous versions.
Method 1: Pressing the Print Screen (PrtScn) Key
The Print Screen key (PrtScn) is the easiest way to take a screenshot.
How it works:
- Press the PrtScn key on your keyboard.
- This copies your full screen to the clipboard.
- Open Paint, Word, or any image editor.
- Press Ctrl + V to paste the screenshot.
- Save the image if needed.
Note: The screenshot is not automatically saved. You must paste and save it yourself.
Method 2: Windows + Print Screen (Auto Save)

This method is great if you want to take a screenshot and save it automatically.
Steps:
- Press Windows key + PrtScn together.
- The screen will flash for a second.
- The screenshot is automatically saved in:
Pictures > Screenshots
No need to paste or save manually—super quick!
Method 3: Snipping Tool (Best Built-in Tool)
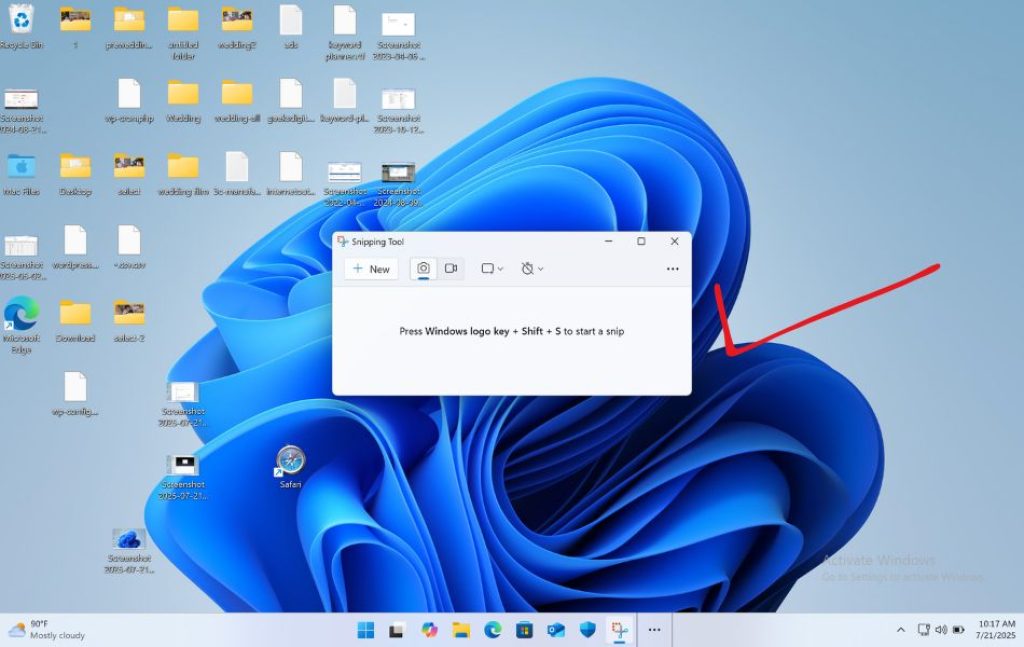
Windows 11 comes with a built-in tool called Snipping Tool, which gives you more control over your screenshots.
How to use Snipping Tool:
Click the Start button.
Search for Snipping Tool and open it.
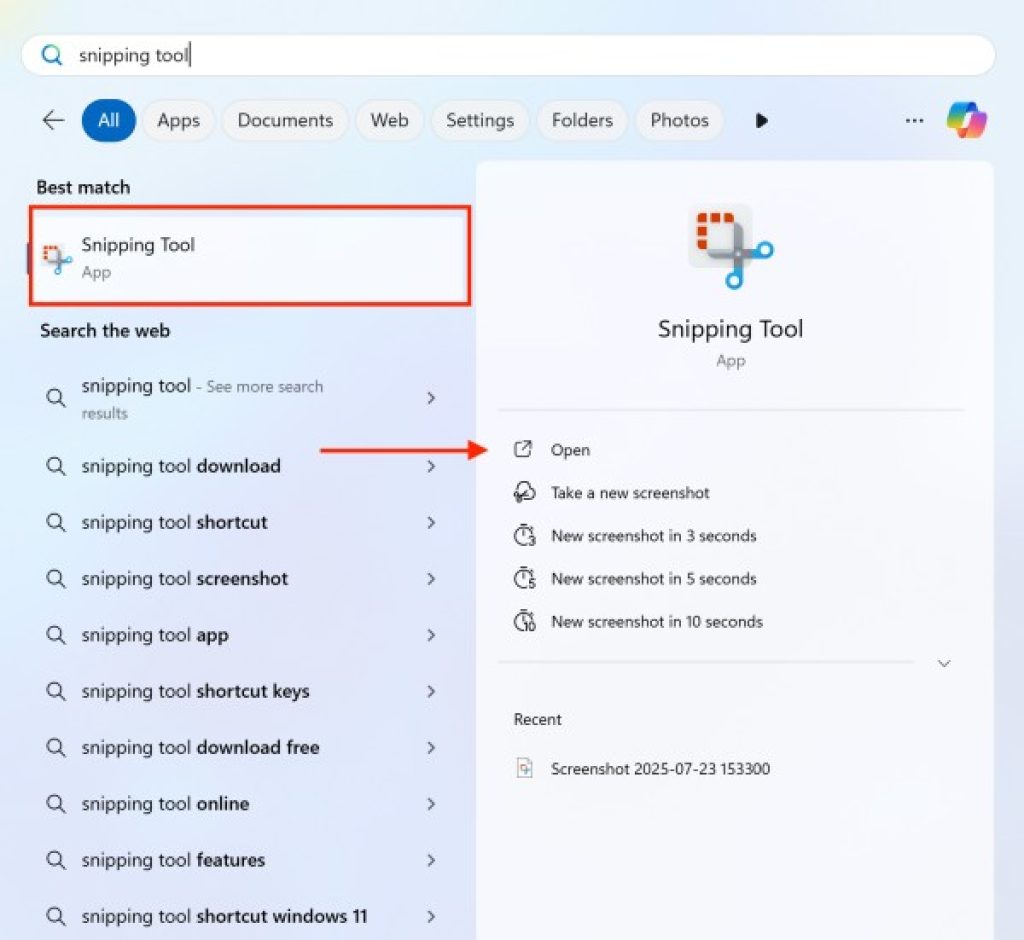
Click New to start a screenshot.
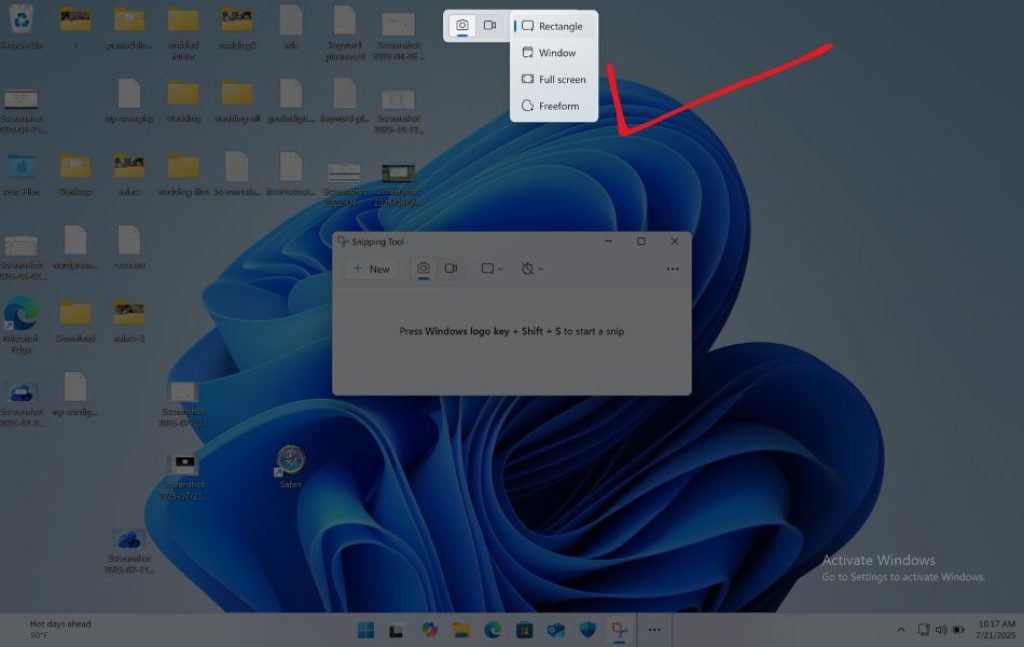
Choose from:
- Rectangle Snip
- Freeform Snip
- Window Snip
- Fullscreen Snip
Select the area you want to capture.
Edit or save the image using the toolbar.
Bonus: You can delay the screenshot by 3, 5, or 10 seconds. This helps when you want to capture menus.
Method 4: Windows + Shift + S (Quick Snip)
This shortcut opens a screen capture tool directly, without opening the Snipping Tool app.
Press Windows + Shift + S.
Your screen will dim, and a small menu will appear at the top.
Choose one of the following:
- Rectangular snip
- Freeform snip
- Window snip
- Fullscreen snip
Select the area to capture.
The screenshot is copied to your clipboard.
Click the popup on the bottom-right to edit or save it.
You can also paste it directly into chats, documents, or emails.
Method 5: Alt + Print Screen (Active Window Screenshot)
Want to capture only the window you are currently working in? Use this simple trick.
How to do it:
- Click on the window you want to capture.
- Press Alt + PrtScn.
- The screenshot is copied to your clipboard.
- Paste it into Paint or any app with Ctrl + V, then save.
This is perfect for avoiding distractions or clutter from other parts of the screen.
Method 6: Use Xbox Game Bar (For Games and Videos)
If you’re a gamer or want to take screenshots during a video, the Xbox Game Bar is ideal.
Steps:
- Press Windows + G to open the Game Bar.
- Click the camera icon or press Windows + Alt + PrtScn.
- Screenshots are saved automatically to:
Videos > Captures
You can also record videos of your screen here!
Method 7: Using Microsoft Edge Web Capture
If you’re browsing in Microsoft Edge and want to screenshot a webpage, use this handy built-in tool.
How to use:
- Open Microsoft Edge.
- Click the three-dot menu (•••) in the top-right corner.
- Select Web Capture.
- Choose Capture area or Capture full page.
- Edit or copy the screenshot.
This is great for saving recipes, articles, and webpages exactly how they look.
Method 8: Use Third-Party Screenshot Apps
There are many tools that offer extra features like annotations, cloud sharing, or automatic uploads. Some popular ones:
- Lightshot – Simple and lightweight.
- Greenshot – Advanced features and free.
- ShareX – Powerful and open-source.
- Snagit – Professional tool (paid).
These apps are useful if you need more than just simple screenshots.
How to Edit Screenshots in Windows 11
After taking screenshots, editing improves clarity.
Built-in editing tools:
Paint:
- Crop
- Resize
- Add shapes
- Text labels
Photos app:
- Filters
- Markup
- Cropping
- Drawing
Snipping Tool:
- Highlighter
- Pen
- Touch writing
Common edits:
- Highlighting errors
- Blurring sensitive information
- Adding arrows
- Cropping unnecessary areas
Editing makes screenshots more useful for guides and professional communication.
Where Are My Screenshots Saved?
Depending on the method you use, your screenshots will be saved in different places:
| Method | Save Location |
|---|---|
| Windows + PrtScn | Pictures > Screenshots |
| Xbox Game Bar | Videos > Captures |
| Snipping Tool / Snip & Sketch | You choose where to save |
| PrtScn / Alt + PrtScn | Clipboard only (you need to paste) |
Make sure to organize your files to find them easily later.
Frequently Asked Questions (FAQs)
What is the easiest way to take a screenshot in Windows 11?
The easiest way is to press Windows + PrtScn. This takes a full-screen screenshot and saves it automatically in the Pictures > Screenshots folder.
Where do screenshots go in Windows 11?
If you use Windows + PrtScn, the screenshots are saved in the Pictures > Screenshots folder. If you use Windows + Shift + S, the screenshot is copied to the clipboard and you need to paste it into an app like Paint or Word.
How do I take a screenshot of only one window?
Click on the window you want to capture, then press Alt + PrtScn. This copies a screenshot of just that window to your clipboard.
Can I take screenshots during games?
Yes! Press Windows + G to open the Xbox Game Bar, then click the camera icon or press Windows + Alt + PrtScn to take a screenshot.
Final Thoughts
Taking screenshots in Windows 11 is quick, simple, and extremely helpful in many situations. Whether you’re saving important information, sharing something interesting, or showing a problem to someone for help, knowing how to screenshot properly makes your work easier and faster. The good news is that Windows 11 offers multiple built-in tools—like the Snipping Tool, Windows + Shift + S, and the Xbox Game Bar—so you can capture your screen the way you want.
If you need a fast full-screen shot, use Windows + PrtScn. If you want to select a specific part of the screen, Windows + Shift + S is perfect. For those who create tutorials or play games, tools like Snipping Tool and Game Bar offer even more options. You can also use third-party apps if you want extra features like instant editing or cloud saving.
Now that you’ve learned all the main methods, try using a few and pick the ones that work best for you. With a little practice, you’ll be taking clear, well-organized screenshots in no time. It’s a small skill, but one that can really improve your digital life.
![How to Screenshot Windows 11 [Easy Method]](https://www.geeksdigit.com/wp-content/uploads/2026/03/dynamic-lighting-windows-11.jpg)
![How to Screenshot Windows 11 [Easy Method]](https://www.geeksdigit.com/wp-content/uploads/2025/11/how-to-open-snipping-tool-windows-11.jpg)