Windows 11 comes with many built-in tools and optional components that can be enabled or disabled depending on what you need. These components are called Windows Features. Some of them help with virtualization, running older apps, supporting special Windows tools, and improving compatibility with certain programs. Many Windows Features stay disabled until you manually turn them on.
Knowing how to turn Windows Features on or off is important because it can help you solve software errors, enable advanced features like Hyper-V or WSL, and remove unnecessary components that you never use. This guide explains everything in simple language and shows you multiple methods to manage Windows Features in Windows 11.
What Are Windows Features in Windows 11?

Windows Features are optional parts of the Windows 11 operating system. They are different from normal apps because they are built into Windows and are controlled through system settings. You can enable or disable them anytime.
These features include tools and services such as .NET Framework, Hyper-V, Windows Subsystem for Linux, virtualization components, legacy game support, and more. When you enable a feature, Windows adds required system files and activates it. When you disable a feature, Windows stops it and removes it from active use.
Some Windows Features are useful for normal users, while others are for developers, gamers, and system administrators.
Why You Might Need to Turn Windows Features On or Off
You may need to manage Windows Features for many reasons. Sometimes you turn on features because a program requires them. Other times you disable features to reduce unnecessary background components.
Common reasons include:
- Fixing errors while installing or running older software
- Enabling support for old games that need legacy components
- Turning on virtualization tools for virtual machines or emulators
- Enabling Windows Subsystem for Linux for Linux commands and apps
- Improving security by disabling unused features
- Troubleshooting system issues by turning off conflicting components
Important Things to Know Before You Change Windows Features
Before enabling or disabling anything, it is good to understand a few important points. This will help you avoid confusion and prevent unnecessary problems.
Keep these things in mind:
- Some features require a restart to fully apply changes
- Some features depend on Windows Update to download extra files
- Not all features are available in every edition of Windows 11
- Disabling a feature may stop certain apps from working
- It is better to change one feature at a time and test afterward

If Windows asks you to restart, it is recommended to restart immediately so the feature works properly.
Method 1: Turn Windows Features On or Off Using Control Panel
This is the most common and easiest method. It works for almost everyone and gives you the full list of Windows Features.
Follow these steps:
- Click the Start button
- Type Control Panel and open it
- Click Programs
- Click Programs and Features
- On the left side, click Turn Windows features on or off
- Wait for the Windows Features window to load
Now you will see a list of features with checkboxes.
To enable a feature:
- Click the checkbox next to the feature name
- If the feature has sub-features, click the small box or arrow to expand it
- Select only the parts you want
- Click OK
- Wait while Windows applies the changes
- Restart your PC if asked
To disable a feature:
- Remove the checkmark from the feature
- Click OK
- Confirm if Windows shows a warning
- Restart if asked
This method is best because it is simple, visual, and safe for beginners.
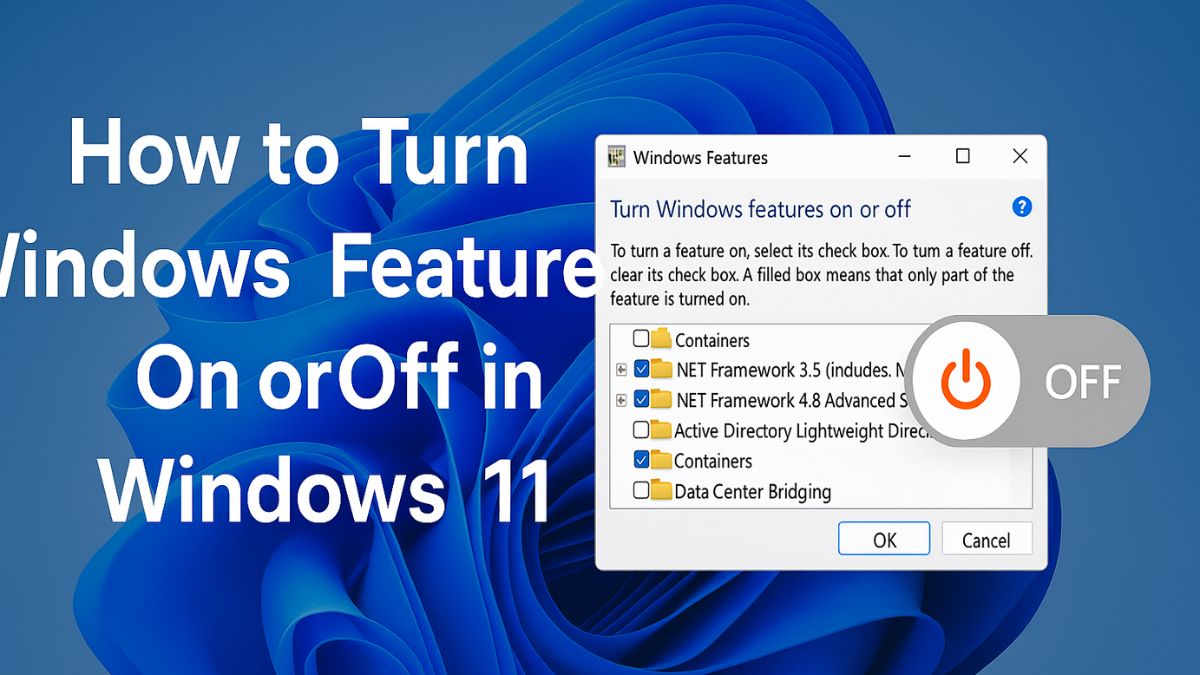
What the Checkboxes Mean in Windows Features
When you look at the Windows Features list, you might notice different checkbox styles. Each one has a meaning.
Here is what they mean:
- A checked box means the feature is fully enabled
- An empty box means the feature is disabled
- A filled or shaded box means only part of the feature is enabled
This is useful because some features allow partial installation, so you can enable only what you need.
Method 2: Turn Windows Features On or Off Using Windows Search
If you want a faster way to open the same Windows Features window without going through Control Panel, you can do it from Search.
Steps to follow:
- Click the Start button
- Type Windows Features
- Click Turn Windows features on or off in the search results
- The Windows Features list will open
- Enable or disable features using checkboxes
- Click OK
- Restart if Windows asks you
This is one of the quickest methods and works best for daily use.
Method 3: Manage Optional Features Using Windows Settings
Windows Settings has another section called Optional Features. This is not exactly the same as the Windows Features window, but it helps you install or remove extra Windows components.
Steps to use Settings:
- Press Windows + I to open Settings
- Click Apps
- Click Optional features
- Scroll to see installed optional features
- To remove a feature, click it and choose Uninstall
- To add a feature, click View features
- Choose what you want and click Next, then Install
This method is useful if you want to manage extra Windows tools and add-ons, but for full Windows Features control, Control Panel is still the best option.
Method 4: Turn Windows Features On or Off Using Command Prompt (DISM)
DISM is a powerful Windows command-line tool used to manage Windows system components. It is useful if the Control Panel method is not working or if you prefer advanced tools.
To use DISM, you must open Command Prompt as Administrator.
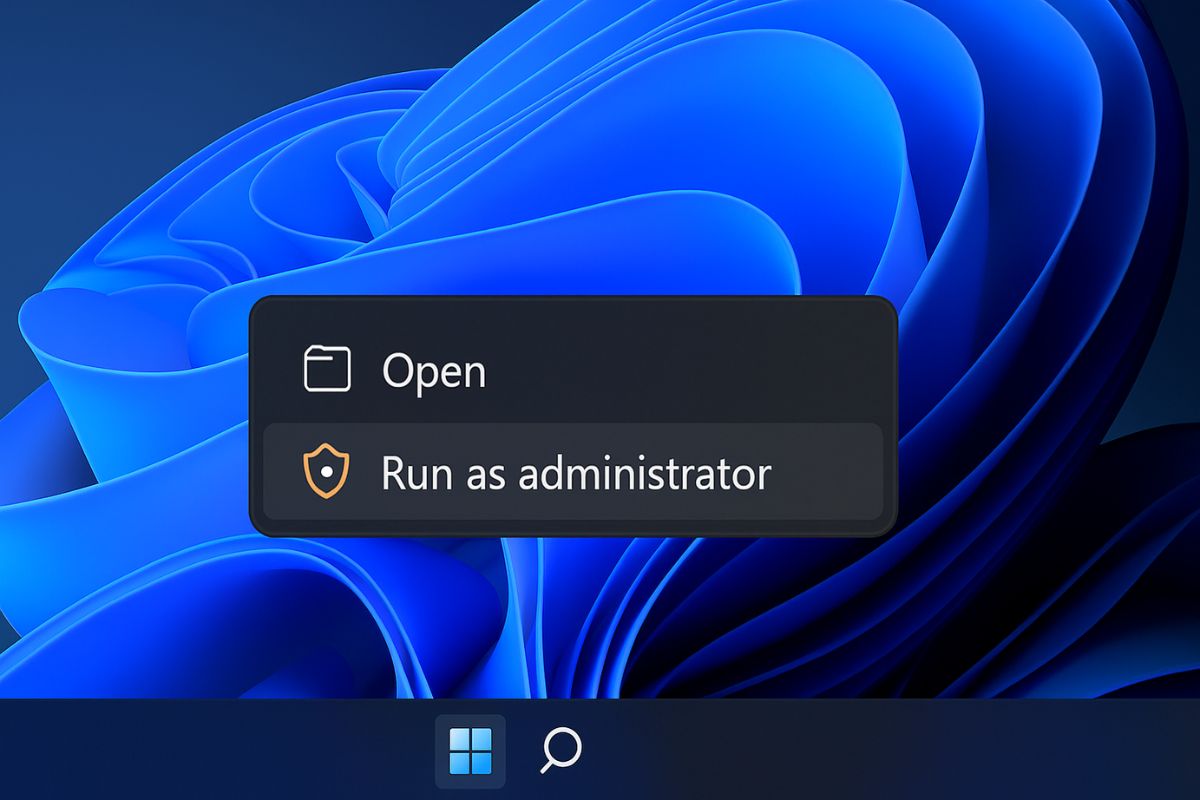
Steps to open Command Prompt as administrator:
- Click the Start button
- Type cmd
- Right-click Command Prompt
- Select Run as administrator
To view all available Windows features with DISM:
- Type the DISM command to list features
- Press Enter
- Look for the feature name and its state
To enable a Windows feature using DISM:
- Type the command with the exact feature name
- Press Enter
- Wait for completion
- Restart your PC
To disable a Windows feature using DISM:
- Type the command to disable the feature
- Press Enter
- Restart your PC
This method is mainly for advanced users, but it can be very helpful if you are troubleshooting and Windows Features won’t work normally.
Method 5: Turn Windows Features On or Off Using PowerShell
PowerShell is another advanced method to manage Windows Features in Windows 11. It is more modern and powerful than Command Prompt.
Steps to open PowerShell as administrator:
- Right-click the Start button
- Click Windows Terminal (Admin)
- Make sure you are using the PowerShell tab
To check Windows features status:
- Run a command that lists Windows optional features
- Find the feature name in the list
To enable a feature:
- Type the enable command with the correct feature name
- Press Enter
- Restart your PC if needed
To disable a feature:
- Type the disable command with the correct feature name
- Press Enter
- Restart if asked
PowerShell is useful when you want speed, automation, or a more technical way to control features.
Most Common Windows Features People Enable in Windows 11
Not every Windows Feature is useful for everyone, but some are very commonly enabled because they help fix problems or unlock useful tools.
Here are popular Windows Features and why people enable them:
- .NET Framework for running older apps and certain software tools
- Windows Subsystem for Linux (WSL) for Linux apps and commands inside Windows
- Hyper-V for creating and running virtual machines (mostly on Windows Pro)
- Virtual Machine Platform for virtualization and certain emulator support
- Media Features for better media playback support and compatibility
- DirectPlay (Legacy Component) for older games and classic software
- SMB sharing features if you connect to older network drives or devices
In many cases, Windows automatically asks you to enable required features when needed, but sometimes you must enable them manually.
Windows Features You Should Usually Keep Disabled
Some Windows Features are built for specific users and are not needed for most people. Keeping them disabled can be safer and can reduce extra background components.
Examples include:
- Internet Information Services (IIS) if you don’t host websites
- Windows PowerShell 2.0 because it is old and rarely needed
- Work Folders Client unless you use it for office or company work
- SMB 1.0/CIFS File Sharing Support unless you have very old devices that require it
If you are not sure about any feature, it is better to leave it unchanged.
What Happens After You Enable or Disable a Windows Feature?
After you enable or disable a feature, Windows will apply changes in the background. This can take a few seconds or a few minutes depending on the feature.
You may notice these things:
- Windows may say “Searching for required files”
- Windows may install extra components
- You may be asked to restart the system
- A new app or feature may appear after restart
- Some services may start working only after reboot
Disabling a feature does not delete your personal files, but it may affect programs that rely on that feature.
Troubleshooting: Windows Features Not Working Properly
Sometimes you might face issues where features refuse to enable or disable. This can happen due to corrupt system files, Windows Update problems, or missing components.
Here are simple fixes you can try:
- Restart your PC and try again
- Make sure your internet connection is working
- Check that Windows Update is enabled and working
- Try enabling the feature using PowerShell or DISM instead of Control Panel
- Enable one feature at a time instead of multiple features together
If a feature still won’t install, it may be a sign that Windows system files need repair, and you may need to run Windows repair tools.
Does Turning Off Windows Features Improve Performance?
Turning off unused Windows Features can help keep your system cleaner, but the performance improvement is usually small. The main benefit is compatibility management and security.
Still, disabling features you never use may help:
- Reduce background services
- Lower system complexity
- Improve security by reducing attack surfaces
- Prevent conflicts with some apps
However, the biggest performance improvements come from managing startup apps, clearing storage space, updating drivers, and keeping Windows updated.
Best Practices for Turning Windows Features On or Off Safely
To avoid problems, it is always better to follow a safe approach.
Here are some good habits:
- Turn on a feature only when you actually need it
- Turn off a feature only when you know it is not required
- Restart your PC when Windows asks for it
- Don’t disable major components like .NET Framework unless necessary
- Keep a note of what you changed if you are troubleshooting
This way, you can always reverse your changes if something stops working.
Final Thoughts
Turning Windows Features on or off in Windows 11 is a powerful and helpful skill. It allows you to enable important tools, fix software problems, run older programs, use virtualization, and customize your PC based on your needs.
Most users should use the Control Panel method because it is easy and reliable. If you prefer a faster option, using Windows Search works great. Advanced users can also use Settings, PowerShell, and DISM commands for deeper system control.
As long as you enable or disable features carefully and restart your computer when needed, managing Windows Features in Windows 11 is completely safe and can make your experience smoother and better.
If you want, I can also write a quick list of the best Windows Features to enable for gaming, development, or faster performance in Windows 11.