If you’re using Windows 11 on a laptop, desktop, or hybrid device, knowing how to adjust the screen brightness is essential for optimizing your visual comfort, conserving battery life, and protecting your eyes from strain. Whether you want to manually control the brightness level or automate it based on the environment, Windows 11 offers multiple ways to tweak this setting.
This article will walk you through all the possible methods to adjust brightness in Windows 11—manually, automatically, through shortcuts, and even with third-party tools. We’ll also cover troubleshooting tips and brightness control solutions for desktops and external monitors. Let’s dive in.
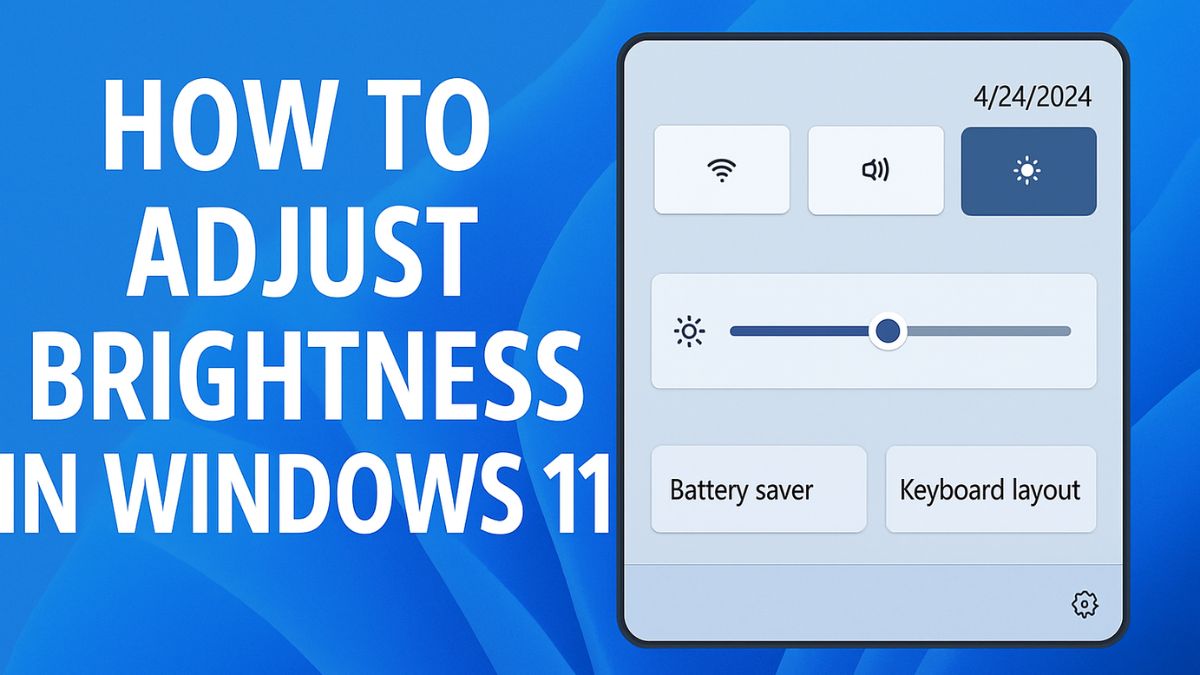
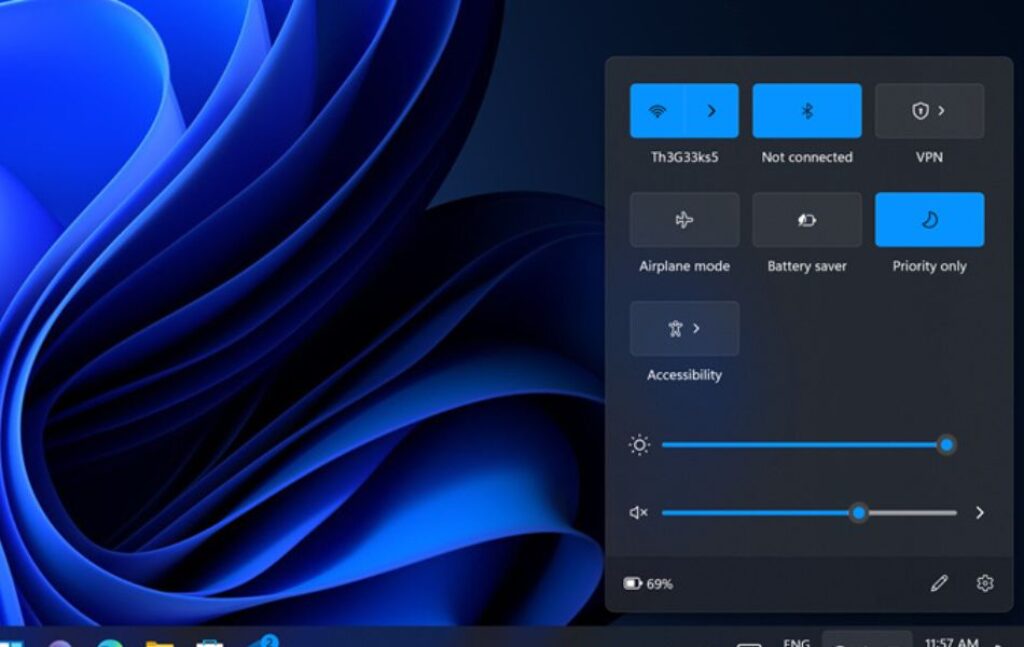
Method 1: Use Quick Settings Panel

One of the easiest ways to adjust brightness in Windows 11 is through the Quick Settings panel.
- Click the Quick Settings icon on the taskbar (next to the clock and Wi-Fi).
- Alternatively, press
Windows + Ato open it. - You’ll see a brightness slider. Move it left to decrease or right to increase brightness.
- If the slider is missing, your device might not support adaptive brightness or needs a driver update.
- The slider only appears on built-in displays, not on external monitors.
- Best for: Quick manual adjustment on laptops or tablets.
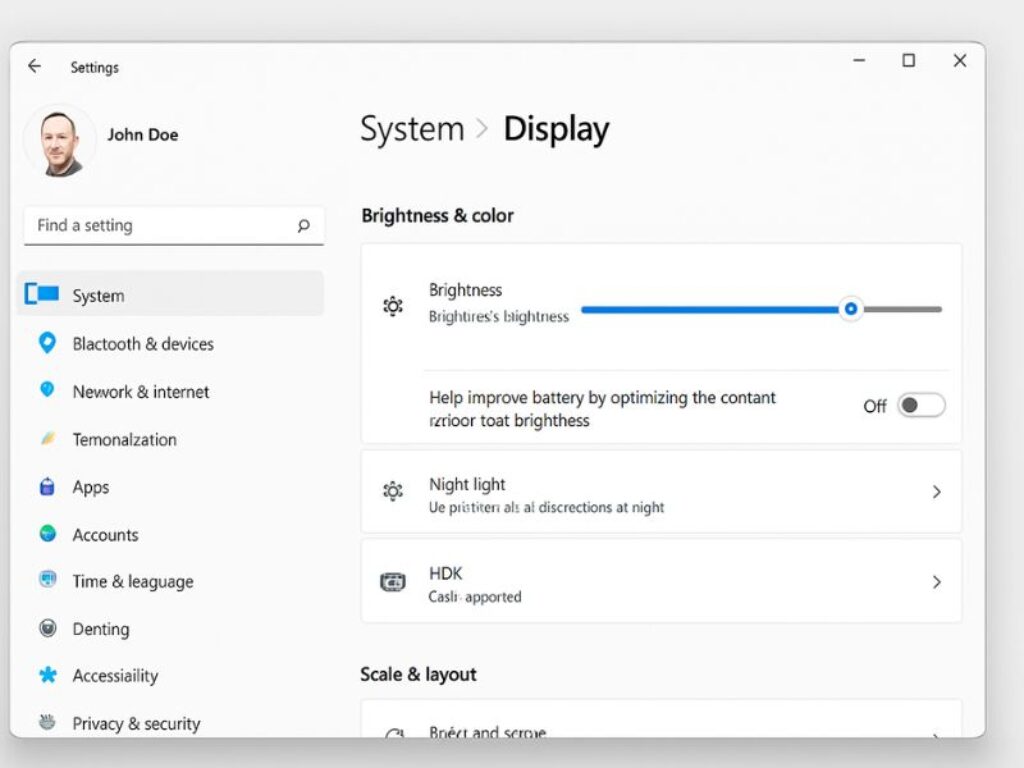
Method 2: Adjust Brightness via Settings App
The Settings app in Windows 11 provides a more detailed way to control brightness.
- Press
Windows + Ito open Settings. - Navigate to System > Display.
- Scroll to the Brightness & color section.
- Use the Brightness slider to adjust the level manually.
Best for: Users looking for persistent or default settings.
Method 3: Use Adaptive Brightness (Auto Brightness)
Windows 11 supports adaptive brightness (also known as dynamic brightness), which automatically adjusts based on ambient light using a built-in light sensor.
- Go to Settings > System > Display.
- Under Brightness & color, click the small arrow or “Brightness” drop-down.
- Check the box for:
- “Change brightness automatically when lighting changes”
- Or “Help improve battery by optimizing the content shown and brightness”
- This option only appears if your device has a built-in ambient light sensor.
- It’s more common on premium laptops and tablets like Surface devices.
- Best for: Power-saving and adaptive lighting environments.
Method 4: Use Keyboard Shortcuts
Many laptops have dedicated brightness keys on the keyboard. These are usually marked with a sun icon and can be found on the function (F1–F12) row.
Common combinations:
Fn + F5to decrease brightnessFn + F6to increase brightness
Best for: Fastest adjustment while typing or gaming.
Method 5: Use Windows Mobility Center
The Windows Mobility Center offers a centralized hub for display and power settings.
- Press
Windows + Xand choose Mobility Center. - You’ll see a Display brightness slider.
Note:
- This feature is only available on portable devices like laptops and some tablets.
- It may not be present on desktop PCs.
Method 6: Adjust Brightness on Desktop Monitors

For external monitors, brightness must usually be controlled physically or via the monitor’s built-in settings menu.
How to do it:
- Use the physical buttons on your monitor (usually on the front or side).
- Navigate the on-screen display (OSD) menu.
- Find the Brightness or Backlight option and adjust it.
Best for: External displays with manual controls.
Method 7: Use Display Driver Control Panels
Advanced display drivers like Intel Graphics Command Center, NVIDIA Control Panel, or AMD Radeon Settings offer fine-tuned control over brightness, contrast, and gamma.
Intel Graphics Command Center:
- Open the app via Start menu or system tray.
- Go to Display > Color Settings.
- Adjust the Brightness slider.
NVIDIA or AMD:
- Open the respective control panel.
- Navigate to Display > Adjust Desktop Color Settings (NVIDIA) or similar.
- Modify Brightness or Gamma levels.
Best for: Gamers, professionals, and multi-monitor setups.
Method 8: Use Command Line (PowerShell)
For advanced users, it’s possible to change brightness using PowerShell commands.
Example Command:
(Get-WmiObject -Namespace root/wmi -Class WmiMonitorBrightnessMethods).WmiSetBrightness(1, 50)
This sets brightness to 50%.
Best for: IT admins, automation, and scripting.
Method 9: Use Third-Party Brightness Control Tools
Some third-party apps offer more flexibility and compatibility across external and built-in monitors.
Recommended apps:
- f.lux: Adjusts brightness and color temperature based on time of day.
- Twinkle Tray: Adds a brightness slider in the system tray.
- Monitorian: Controls multiple monitor brightness from one place.
- Dimmer: Overlays a dimming filter (useful for screens without hardware support).
Best for: Multi-monitor setups or unsupported devices.
Method 10: Use Registry Editor (Advanced Users)
Warning: Editing the registry can affect system stability. Proceed with caution.
- Press
Windows + R, typeregedit, and press Enter. - Navigate to:
HKEY_LOCAL_MACHINE\SOFTWARE\Intel\Display\igfxcui\profiles\media\Brighten Movie
- You can tweak values like Gamma or Brightness, but this method is highly device-specific.
Troubleshooting: What If Brightness Controls Are Missing?
If you can’t adjust brightness in Windows 11, try these fixes:
1. Update Display Drivers
- Open Device Manager.
- Expand Display adapters.
- Right-click your adapter (e.g., Intel UHD, NVIDIA) > Update driver.
2. Reinstall Display Drivers
- In Device Manager, uninstall the driver.
- Restart your system to reinstall automatically.
3. Enable Monitor Brightness in Services
- Press
Windows + R, typeservices.msc. - Locate and restart Sensor Monitoring Service or Display Enhancement Service.
4. Check Windows Updates
- Go to Settings > Windows Update and install the latest updates.
How to Automate Brightness Based on Time or Battery
Windows 11 doesn’t natively support scheduled brightness changes, but you can automate it using:
Task Scheduler with PowerShell:
Create scheduled tasks that run PowerShell brightness commands at set times.
Use f.lux or Night Light:
- Go to Settings > System > Display > Night Light.
- Schedule Night Light to reduce brightness and blue light in the evening.
Bonus: Use Battery Saver to Auto-Dim
When Battery Saver is enabled, Windows 11 automatically reduces brightness to conserve energy.
Steps:
- Open Settings > System > Power & Battery.
- Under Battery Saver, check “Lower screen brightness when using battery saver.”
Why Adjusting Brightness Matters
Adjusting the screen brightness on your Windows 11 device is more than just a cosmetic tweak—it’s essential for a variety of practical reasons. Getting your display brightness right impacts your visual comfort, device performance, and even your health. Here’s why you should care about adjusting brightness regularly:
1. Protect Your Eyes from Strain
One of the most important reasons to manage brightness is to reduce eye strain and fatigue. When the screen is too bright, especially in dark environments, it causes your eyes to work harder to focus, leading to discomfort, headaches, and dryness. Conversely, a screen that’s too dim in bright surroundings makes you squint, which also stresses your eyes.

Adjusting brightness to match your ambient lighting helps maintain comfortable vision, preventing long-term eye damage and improving your overall productivity.
2. Enhance Screen Visibility
Proper brightness ensures your screen content is visible and clear. For example:
- In a bright room or outdoor setting, increasing brightness makes text and images easier to see.
- In a dark room, lowering brightness prevents glare and reflections that can obscure details.
This adjustment is especially important if you work with graphics, video editing, or tasks requiring color accuracy.
3. Save Battery Life
For laptops, tablets, and other portable Windows 11 devices, screen brightness is one of the biggest drains on battery power. Reducing brightness can significantly extend battery runtime—sometimes by hours.
Using adaptive brightness or manually lowering your screen brightness helps you maximize battery efficiency, allowing longer use without needing to plug in.
4. Improve Sleep and Circadian Rhythm
High brightness combined with blue light exposure in the evening can disrupt your natural sleep cycle. Excessive blue light suppresses melatonin, the hormone responsible for regulating sleep, making it harder to fall asleep after late-night computer use.
Lowering brightness and using night light or blue light filters can minimize this effect, helping improve your sleep quality.
5. Reduce Heat Generation
Brighter screens consume more power and produce more heat. Lower brightness levels contribute to reduced heat output from your device, which can improve system stability and longevity—especially in compact laptops or tablets where overheating is a concern.
6. Enhance Overall Comfort and Productivity
By customizing screen brightness, you create a more comfortable workspace that suits your needs and environment. This comfort translates to better focus, fewer distractions, and more efficient work or entertainment sessions.
Conclusion
Adjusting screen brightness in Windows 11 is simple, yet powerful. Whether you’re working late into the night or trying to preserve battery during travel, knowing how to control brightness can enhance your comfort and device performance.
From quick adjustments via keyboard to automated brightness settings, Windows 11 provides flexibility for every user type—casual, professional, or technical. If your device isn’t showing brightness controls, updating drivers or using third-party tools can often solve the issue.
Don’t underestimate the power of a well-calibrated screen—it can make all the difference in your computing experience.
![How to Adjust Brightness in Windows 11 [Easy Steps]](https://www.geeksdigit.com/wp-content/uploads/2024/11/how-to-check-specs-windows.webp)
![How to Adjust Brightness in Windows 11 [Easy Steps]](https://www.geeksdigit.com/wp-content/uploads/2024/08/HOW-MUCH-VRAM-DO-I-NEED-FOR-GAMING.jpg)