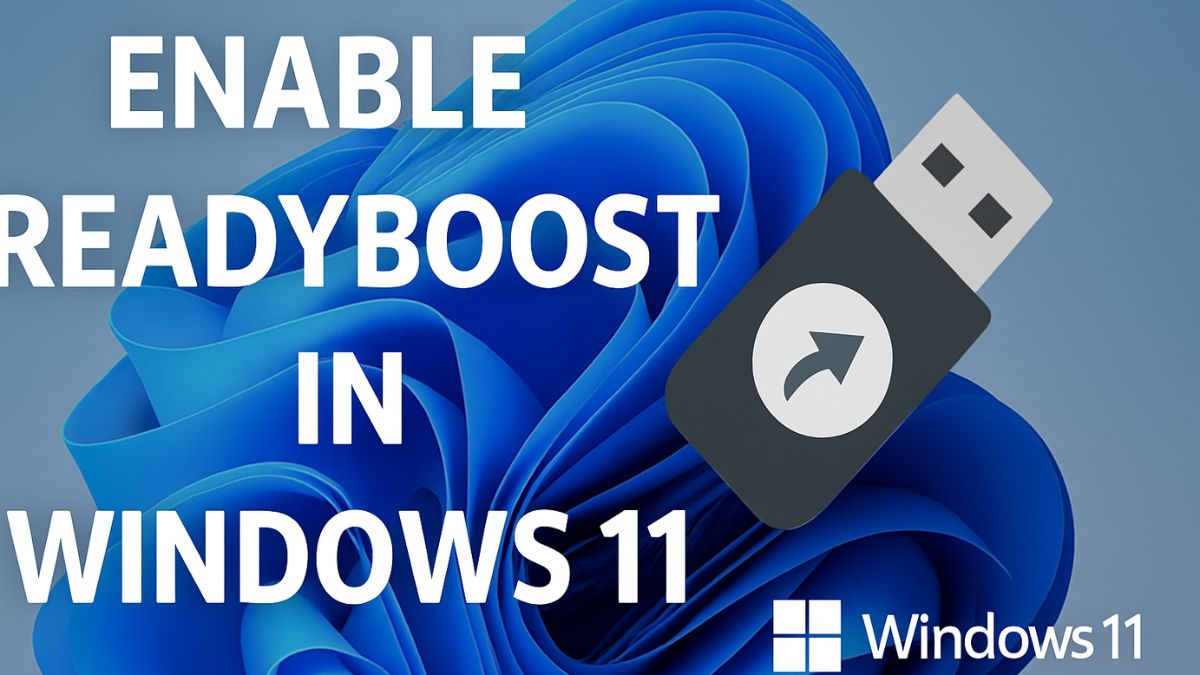
Modern Windows systems have become increasingly efficient, but users with older or lower-end hardware often struggle to keep up with multitasking demands. If your computer is running low on RAM and you’re not ready to upgrade physically, Microsoft offers a unique built-in solution called ReadyBoost. This feature allows you to use a USB flash drive or SD card to supplement your system’s RAM, improving overall responsiveness without opening your PC’s case.
ReadyBoost acts like a virtual memory booster, storing frequently accessed data on a fast storage device. Although it’s not a complete substitute for physical RAM, it can significantly improve performance on machines with less than 4GB of RAM. This guide is tailored for Windows 11 users looking to make the most of this hidden gem. We’ll walk you through the steps to enable ReadyBoost, choose the right flash drive, and troubleshoot common issues. Let’s dive into boosting your system’s speed using just a USB stick.
What is ReadyBoost?

ReadyBoost is a disk caching feature that was first introduced in Windows Vista and has continued through Windows 7, 8, 10, and now Windows 11. It allows Windows to use flash memory (like a USB drive or SD card) as a cache to speed up disk access and application load times.
Rather than directly increasing your RAM, ReadyBoost works alongside the SuperFetch (SysMain) service to cache data that your system uses frequently. It can reduce disk thrashing caused by accessing data from a slower spinning hard drive.
However, its usefulness is significantly reduced if your system already has an SSD. Windows 11 detects when ReadyBoost is not necessary and may even disable it by default if an SSD is present.
System Requirements for Using ReadyBoost in Windows 11
Before you can start using ReadyBoost, ensure that your system meets the minimum requirements:
- Operating System: Windows 11 (or earlier versions starting from Vista).
- Drive Type: USB flash drive, SD card, or external SSD (ReadyBoost only works with fast storage).
- Free Space: At least 256MB of free space on the USB drive.
- Drive Format: NTFS or exFAT recommended.
- RAM: Most beneficial on PCs with 2–4GB RAM.
- Drive Speed: The drive must be capable of 2.5 MB/s read and 1.75 MB/s write speeds for 4 KB random reads/writes.
Choosing the Right USB Drive for ReadyBoost
Not all flash drives are suitable for ReadyBoost. Choosing the right drive can make or break the performance benefits:
- Size Matters: Use a USB drive that’s at least 4GB to 32GB. Windows allows up to 32GB per device for ReadyBoost use.
- Speed Rating: Look for drives labeled USB 3.0 or higher with fast read/write speeds.
- Avoid Cheap Drives: Budget flash drives often have slow speeds and won’t be compatible.
- Brand Reliability: Go with reputable brands like SanDisk, Kingston, or Samsung.
If you’re using an SD card instead, ensure it’s a high-speed Class 10 or UHS type for optimal performance.
How to Enable ReadyBoost in Windows 11: Step-by-Step Guide
Step 1: Insert the USB Drive or SD Card
- Plug your USB flash drive or SD card into an available port.
- Wait for Windows to recognize it.
- If prompted to choose an action, select “Open folder to view files.”
Step 2: Format the Drive (Optional but Recommended)
While not always necessary, formatting ensures a clean drive:
- Open File Explorer.
- Right-click on the USB drive.
- Select Format.
- Choose NTFS or exFAT as the file system.
- Uncheck Quick Format (optional for a deeper format).
- Click Start.
Step 3: Enable ReadyBoost
- Open File Explorer.
- Right-click on the USB drive.
- Select Properties.
- Click on the ReadyBoost tab.
- Choose one of the following:
- Dedicate this device to ReadyBoost (Windows uses all free space).
- Use this device (you can manually set the amount).
- Adjust the slider to allocate how much space you want to use.
- Click Apply, then OK.

ReadyBoost will now create a cache file (ReadyBoost.sfcache) on the USB drive.
Understanding What Happens in the Background
When you enable ReadyBoost in Windows 11, you are essentially telling the operating system to use your USB flash drive or SD card as a supplementary memory cache. While the process appears simple on the surface, there are intricate background operations that make ReadyBoost an intelligent performance enhancer, especially for systems with limited RAM and traditional hard disk drives (HDDs).
Once enabled, Windows creates a file named ReadyBoost.sfcache on the USB device. This file stores data that is frequently accessed by the system, such as application libraries, system files, background processes, and prefetch data. Instead of fetching this data from the slower internal HDD every time it’s needed, Windows retrieves it from the much faster flash-based storage. This results in noticeably quicker load times and reduced disk activity, particularly during boot-up and when launching commonly used programs.
Behind the scenes, ReadyBoost relies on SuperFetch (SysMain), a Windows memory management service that anticipates which applications you’re likely to use next based on your usage habits. SuperFetch preloads these apps into RAM for faster access. However, if your physical RAM is low or already occupied, ReadyBoost steps in by extending this caching mechanism to your flash drive. It works like a dynamic memory extension, accelerating tasks that would otherwise be slowed down by hard disk limitations.
In essence, ReadyBoost acts as a smart middle layer between your RAM and hard drive—an intelligent caching buffer that enhances responsiveness without requiring a hardware upgrade. It’s a brilliant solution for breathing new life into aging PCs and making Windows 11 feel more fluid on underpowered machines.
When ReadyBoost Will Not Work
You may encounter messages like:
- “This device cannot be used for ReadyBoost.”
- “ReadyBoost is not enabled because this computer is fast enough.”
This usually happens if:
- You have an SSD installed.
- The USB drive fails the speed test.
- Your system already has enough RAM (8GB+ typically renders ReadyBoost unnecessary).
How to Disable or Remove ReadyBoost
If you decide ReadyBoost is no longer necessary:
- Plug in the USB drive.
- Go to File Explorer > Right-click > Properties > ReadyBoost tab.
- Select Do not use this device.
- Click Apply, then OK.
- You can now safely remove or reuse the drive.
Alternatives to ReadyBoost
If ReadyBoost doesn’t deliver the desired improvements, consider:
- Upgrading physical RAM – The most direct performance increase.
- Switching to an SSD – SSDs are significantly faster than HDDs and offer immediate speed boosts.
- Optimizing startup programs – Reducing background apps can help.
- Using Performance Mode – In Windows 11 Settings > Power & battery > Power mode.
Final Thoughts
ReadyBoost remains a hidden yet valuable tool for users of older or resource-limited PCs. While it may not compete with hardware upgrades like additional RAM or a solid-state drive, it provides a cost-effective and simple performance improvement, particularly for those still using mechanical hard drives. By repurposing a high-speed USB drive, users can speed up application launches, improve responsiveness, and make multitasking smoother.
That said, ReadyBoost isn’t magic. It won’t transform a slow computer into a blazing-fast machine, but it can bridge the performance gap until a more permanent solution is feasible. For students, budget users, or anyone with limited hardware upgrade options, it’s a smart use of available resources. Whether you’re trying to delay a hardware upgrade or just want to explore all the features Windows 11 offers, ReadyBoost is worth trying—especially if you have a compatible USB drive lying around. Enable it today and give your PC that extra push.