
 Sukhdev Kamboj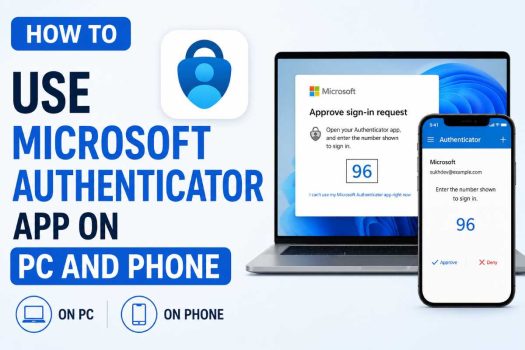
In an age where data breaches and password leaks make headlines almost every week, relying on a simple password to protect your online accounts is no longer enough. This is where two-factor authentication (2FA) and multi-factor authentication (MFA) come in, and one of the most trusted tools for this purpose is the Microsoft Authenticator app. Whether you’re securing a personal Microsoft account, a work or school account tied to Microsoft 365, or even third-party accounts like Google, Facebook, or your banking app, Microsoft Authenticator provides a fast, secure, and largely free way to add an extra layer of protection.
Many people assume Microsoft Authenticator is strictly a mobile-only tool, but that’s not entirely true. While the core app lives on your smartphone, there are several ways to use it in tandem with your PC, from scanning QR codes during setup to approving sign-in requests that pop up on your desktop screen. Understanding how these pieces work together can save you time, prevent lockouts, and make your digital life significantly safer.
This guide walks you through everything you need to know: how to download and set up the app, how to link it to your accounts, how it interacts with your PC, and how to use its more advanced features like passwordless sign-in and cloud backup. We’ll cover four practical methods for using Microsoft Authenticator across your devices, followed by a conclusion and answers to common questions.
Method 1: Installing and Setting Up Microsoft Authenticator on Your Phone
The foundation of using Microsoft Authenticator starts with your smartphone, since the app itself only runs on iOS and Android devices (there is no standalone phone “app” version for Windows PCs — more on that in Method 3).
Step 1: Download the App
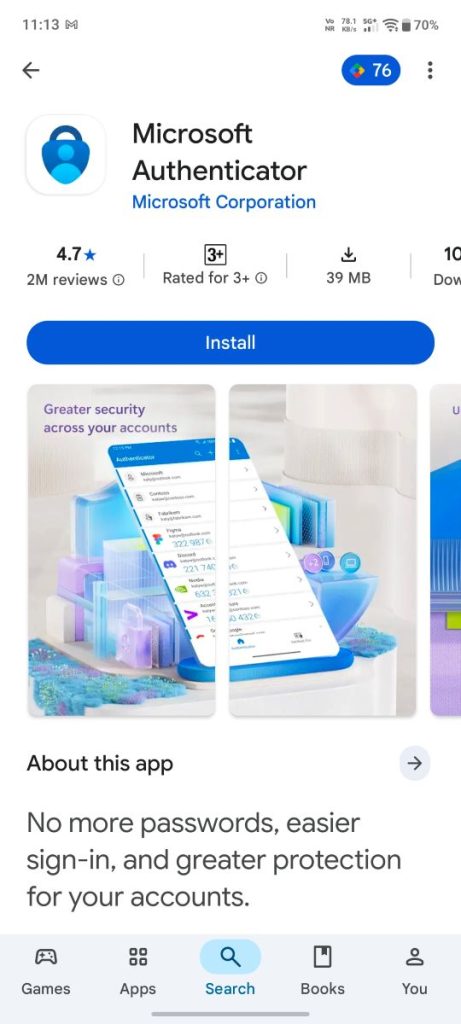
Open the App Store on your iPhone or the Google Play Store on your Android device, search for “Microsoft Authenticator,” and install it. The app is free and published directly by Microsoft Corporation, so make sure you’re downloading the official version to avoid impersonator apps.
Step 2: Open the App and Grant Permissions
Once installed, open the app. You’ll be prompted to allow notifications — it’s important to accept this, since approval requests for sign-ins are delivered as push notifications. You may also be asked for camera access, which is needed to scan QR codes when linking accounts.
Step 3: Sign In or Add an Account
On first launch, the app will ask if you want to add an account. You have a few options here:
- Personal Microsoft account (Outlook.com, Xbox, Skype, etc.)
- Work or school account (Microsoft 365, Azure AD-connected accounts)
- Other accounts (Google, Facebook, GitHub, Amazon, and any service that supports standard TOTP-based 2FA)
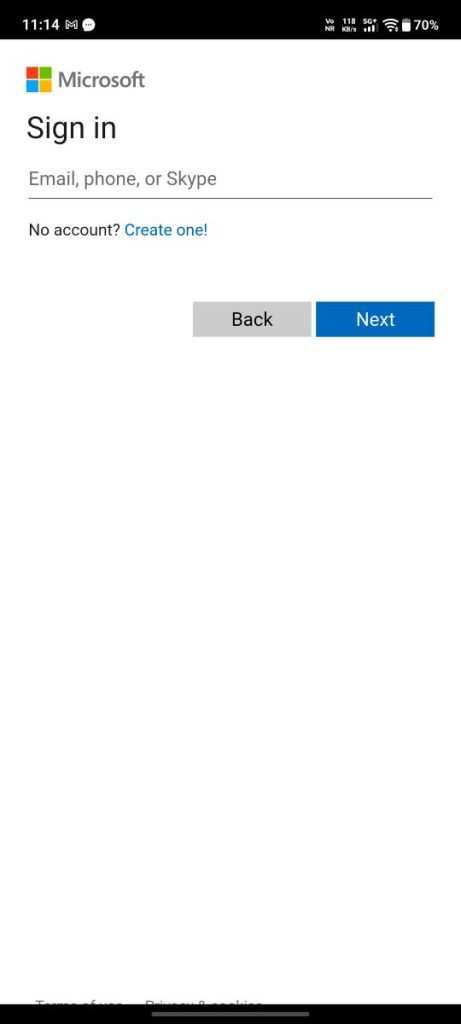
Tap “Add account”, choose the account type, and follow the on-screen instructions. For most third-party accounts, you’ll go to that service’s security settings on a computer or browser, choose to enable two-factor authentication using an authenticator app, and a QR code will appear. Point your phone’s camera at the QR code through the Authenticator app, and the account will be added automatically.
Step 4: Verify the Setup
After adding an account, the app will typically ask you to approve a test notification or enter a one-time code to confirm everything is linked correctly. Once verified, that account now appears in your Authenticator app’s home screen, generating a rotating six-digit code every 30 seconds (for TOTP accounts) or ready to send you approval prompts (for Microsoft accounts).
This initial phone setup is the backbone of every other method described below — without it, none of the PC-based conveniences will work.
Method 2: Linking Microsoft Authenticator to Your Microsoft Account for Passwordless Sign-In
One of the standout features of Microsoft Authenticator is the ability to eliminate passwords entirely for your Microsoft account and instead rely on your phone as the key. This is different from standard 2FA because, once enabled, you don’t type a password at all — you approve a notification or use your fingerprint/Face ID.
Step 1: Go to Your Microsoft Account Security Settings
On your PC, open a browser and navigate to your Microsoft account’s security page (account.microsoft.com, under the Security tab). Sign in as you normally would.
Step 2: Enable Passwordless Account
Look for an option labeled “Advanced security options” and then “Passwordless account.” Turning this on requires that you already have Microsoft Authenticator installed and linked to that same account (from Method 1).
Step 3: Approve the Prompt
Once you toggle this setting, a notification is sent to your phone asking you to approve the change. Open the notification, tap Approve, and confirm with your phone’s biometric lock (fingerprint, Face ID, or PIN).
Step 4: Sign In Going Forward
From this point on, whenever you sign into your Microsoft account on a PC, you’ll enter your email address, and instead of a password field, you’ll be prompted to open your Authenticator app and approve the sign-in. This is faster than typing a password and is significantly more resistant to phishing, since there’s no password to steal in the first place.
This method highlights how the phone app essentially becomes your PC login key — a core part of understanding how Authenticator bridges both devices.
Method 3: Using Microsoft Authenticator Features on Windows PC
While there isn’t a dedicated “Microsoft Authenticator” desktop application in the same sense as the mobile app, Windows PCs interact with Authenticator in several important ways, and Microsoft has also built related functionality directly into Windows.
Windows Hello and Authenticator Integration
Windows 10 and Windows 11 include Windows Hello, which allows sign-in via facial recognition, fingerprint, or PIN. When your Microsoft account is linked with Authenticator for passwordless sign-in, Windows Hello and Authenticator often work together: Windows Hello unlocks your local device, while Authenticator approves cloud-based sign-ins to Microsoft services accessed through the browser.
Approving Sign-In Requests Triggered from a PC
Here’s the most common PC-related use case: when you sign into a Microsoft account, Microsoft 365 portal, Outlook on the web, or any connected app on your desktop browser, the system will send a push notification to your phone via the Authenticator app. On your PC screen, you’ll typically see a two-digit number displayed. Your job is to open the notification on your phone and tap the matching number, then approve the request. This “number matching” system was introduced by Microsoft to prevent accidental approvals and combat MFA fatigue attacks (where attackers spam approval requests hoping you’ll tap “yes” without thinking).
Using the Authenticator Web Companion
For work or school accounts managed through Azure Active Directory (Microsoft Entra ID), IT administrators can configure browser extensions or web-based companion experiences that streamline the approval process, showing a banner directly in the browser rather than requiring you to check your phone screen separately. If your organization uses this, it will typically already be configured on company-managed PCs.
Manually Entering Codes on PC
If, for any reason, you don’t receive a push notification (for example, no internet connection on your phone), you can open the Authenticator app in “offline mode.” It will display a six-digit time-based code for that account. Simply type this code into the sign-in field on your PC when prompted, just as you would with any standard authenticator code.
This method demonstrates that even though the app “lives” on your phone, its influence is felt constantly on the PC side, particularly during every sign-in to a Microsoft-connected service.
Method 4: Backing Up, Restoring, and Managing Multiple Devices
A common worry with authenticator apps is: “What happens if I lose my phone?” Microsoft Authenticator addresses this with a cloud backup feature, and it’s worth setting up before you need it, not after.
Step 1: Enable Cloud Backup
Open the Authenticator app, tap the menu icon (usually three dots or lines in the top corner), and select “Settings.” Look for “Cloud backup” and toggle it on. On Android, this ties to your Google account; on iOS, it uses iCloud.
Step 2: Confirm Your Recovery Account is Linked
The app will confirm that your personal Microsoft account (used for backup) is properly linked. This is separate from the individual accounts you’ve added for 2FA — it’s the account that stores your encrypted backup data.
Step 3: Restoring on a New Phone
If you get a new phone or lose your old one, download Microsoft Authenticator on the new device, sign in with the same Microsoft account used for backup, and choose “Restore from backup.” Your linked accounts (for supported ones, primarily your Microsoft account) will reappear. Note that some third-party TOTP accounts added via QR code may not transfer automatically depending on how they were added, so it’s wise to also save the backup codes each service provides during initial 2FA setup.
Step 4: Managing Sign-Ins Across Multiple PCs
If you regularly sign into your Microsoft account from more than one computer (say, a work laptop and a home desktop), each sign-in attempt will trigger its own approval request. You can view a log of recent sign-in activity from your Microsoft account’s security dashboard on any PC, which shows the device, approximate location, and time of each approval — a useful way to spot unauthorized access attempts.
Taking the time to configure backup and understand multi-device management ensures that switching phones or working across multiple computers doesn’t turn into a frustrating lockout situation.
Conclusion
Microsoft Authenticator has grown from a simple code-generating tool into a robust, central piece of modern account security. By installing the app on your phone, linking it to your Microsoft account, and optionally enabling passwordless sign-in, you gain a system that’s both more convenient and considerably more secure than passwords alone. On the PC side, the experience is largely seamless: Windows Hello handles local device access, while Authenticator approvals and number-matching prompts secure your cloud sign-ins, whether you’re logging into Outlook, Microsoft 365, or a third-party service protected with the app.
The key takeaways are simple. First, always enable cloud backup so a lost or broken phone doesn’t lock you out of your accounts. Second, get comfortable with the number-matching approval process on your PC, since it’s now a standard part of signing in securely. Third, consider enabling passwordless sign-in for your Microsoft account once you’re confident in how the app works, as it removes an entire attack surface (stolen or guessed passwords) from the equation.
Setting all of this up takes maybe fifteen minutes total, but the payoff is long-term peace of mind. In a landscape where credential theft remains one of the most common ways accounts get compromised, Microsoft Authenticator is one of the more effective, low-friction tools available for keeping your digital identity protected across both your phone and your PC.
FAQ
1. Can I use Microsoft Authenticator directly on my PC without a phone?
Not exactly. Microsoft Authenticator is designed as a mobile app for iOS and Android, and there’s no official standalone Windows version of the app itself. However, your PC interacts with it constantly: sign-in approval requests are sent to your phone while you’re working on your PC, and features like Windows Hello complement it for local device access. If you truly need an authenticator that runs natively on a PC without a phone, you’d need to look at alternative solutions, such as browser-based authenticator extensions or hardware security keys, though these aren’t part of the Microsoft Authenticator app itself.
2. What should I do if I lose my phone and haven’t set up cloud backup?
If cloud backup wasn’t enabled and you lose access to your phone, you’ll need to use alternative recovery methods. For your Microsoft account, go to the sign-in page on a PC, click “I forgot my password” or “I can’t access my authenticator app,” and follow Microsoft’s account recovery process, which may involve verifying your identity through an alternate email, phone number, or security questions you set up previously. For third-party accounts (Google, GitHub, banking apps, etc.), most services provide one-time backup codes when you first enable 2FA — if you saved these somewhere safe, you can use them to regain access and then set up a new authenticator device. This is exactly why enabling cloud backup in advance, and storing backup codes for individual services in a safe place, is strongly recommended before you actually need theme.





