
 Sukhdev Kamboj
Windows Subsystem for Linux (WSL) lets you run a full Linux environment directly on your Windows 11 PC — no dual boot, no separate virtual machine, no hassle. Whether you’re a developer who needs Bash, Docker, or Linux command-line tools, or you’re just curious about Linux, WSL bridges the gap between Windows and Linux seamlessly.
In this guide, you’ll learn four proven methods to install WSL on Windows 11, from the fastest one-command setup to manual, fully controlled installations. By the end, you’ll have a working Linux distribution (like Ubuntu, Debian, or Kali Linux) running natively inside Windows.

Before you start, make sure you have:
- Windows 11 (any edition, including Home)
- Administrator access to your PC
- Virtualization enabled in your system BIOS/UEFI
- A stable internet connection
Method 1: Install WSL with a Single Command (Recommended)
This is the fastest and easiest way to install WSL on Windows 11. A single command handles everything automatically — enabling required Windows features, downloading the Linux kernel, setting WSL 2 as the default version, and installing Ubuntu as your default distribution.
Steps:
Open Windows Terminal or PowerShell as Administrator (right-click the Start button and select “Terminal (Admin)” or “Windows PowerShell (Admin)”).
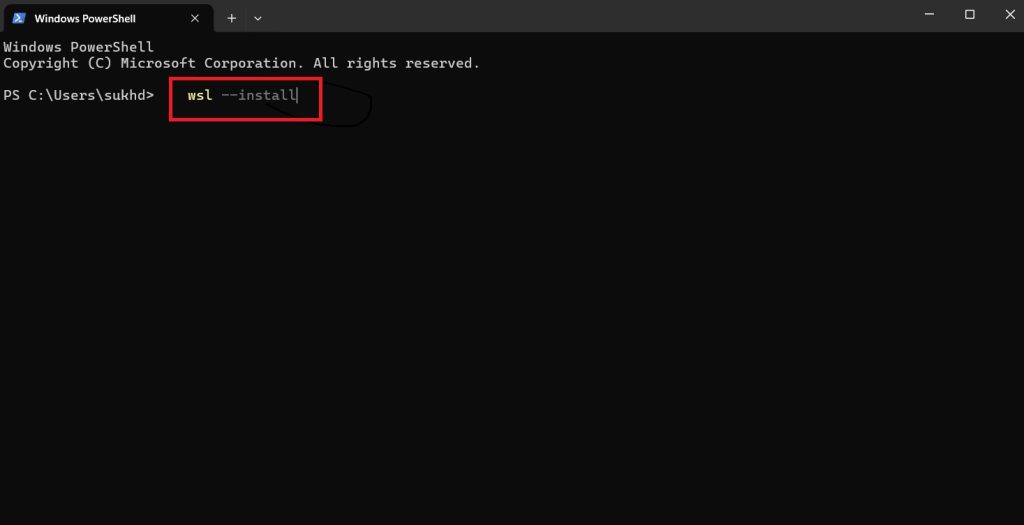
Run the following command:
wsl --installRestart your computer when prompted.
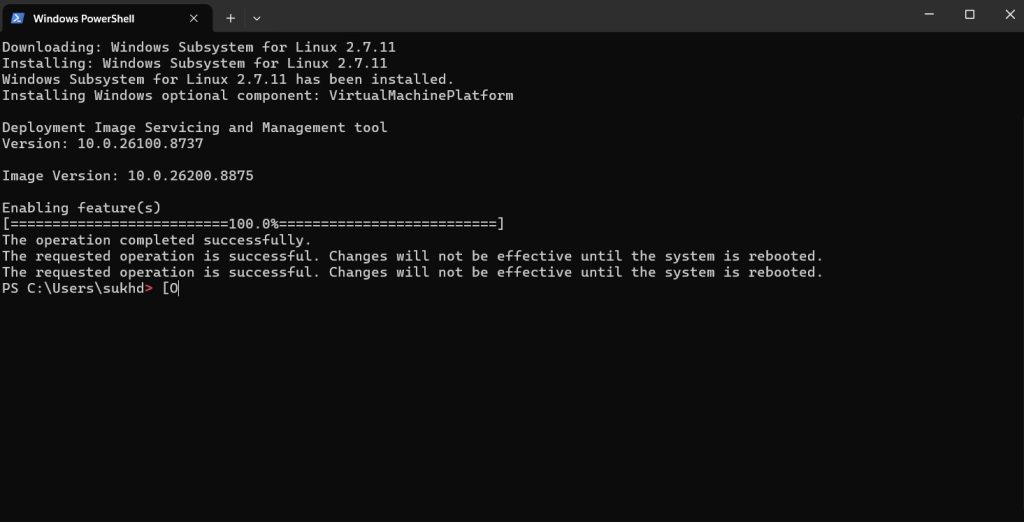
After restart, Ubuntu will launch automatically. Create a UNIX username and password to complete setup.
This method is ideal for most users since it requires no manual configuration and works out of the box on updated versions of Windows 11.
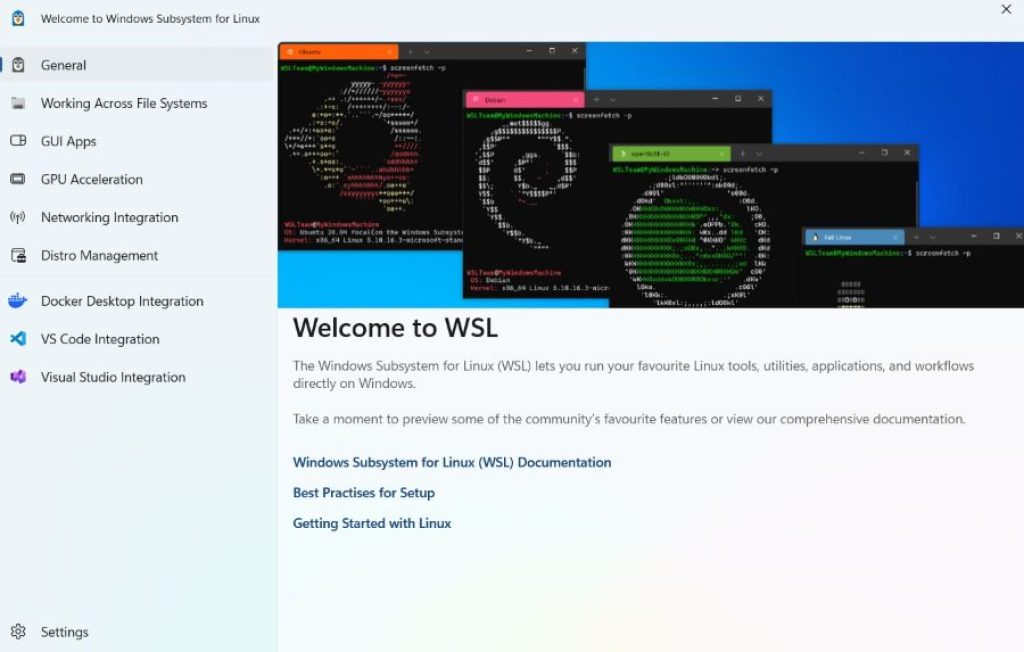
Optional: To install a specific distribution instead of the default Ubuntu, use:
wsl --install -d DistroNameReplace DistroName with your preferred distro, such as Debian, kali-linux, or openSUSE-Tumbleweed. You can see the full list of available distros with wsl --list --online.
Method 2: Install WSL via the Microsoft Store
If you prefer a graphical, click-based approach, you can install WSL and your chosen Linux distribution directly through the Microsoft Store.
Steps:
- First, enable the required Windows features. Open PowerShell as Administrator and run:
   dism.exe /online /enable-feature /featurename:Microsoft-Windows-Subsystem-Linux /all /norestart
dism.exe /online /enable-feature /featurename:VirtualMachinePlatform /all /norestart- Restart your PC.
- Open the Microsoft Store app.
- Search for your preferred Linux distribution (e.g., Ubuntu, Debian, Kali Linux).
- Click Get or Install.
- Once installed, launch it from the Start menu and set up your Linux username and password.
This method is useful if you want to install multiple distributions later or prefer managing installs through a familiar app interface.
Method 3: Manual Installation via Windows Settings (Optional Features)
For users who prefer using the Settings app instead of the command line, WSL can be enabled through Windows 11’s graphical settings menu.
Steps:
- Open the Settings app.
- Go to Apps > Optional features.
- Click More Windows features.
- Scroll down and check the boxes for:
- Windows Subsystem for Linux
- Virtual Machine Platform
- Click OK and restart your computer.
- After restarting, open PowerShell as Administrator and set WSL 2 as your default version:
wsl --set-default-version 2- Install a distribution from the Microsoft Store or run
wsl --install -d Ubuntuto finish setup.
This approach is helpful for users who are less comfortable with terminal commands and want a visual, step-by-step configuration process.
Method 4: Manual Installation via DISM and PowerShell (Full Control)
This method gives you complete control over each step of the installation — useful for troubleshooting, custom configurations, or environments where the automated wsl --install command doesn’t work as expected.
Steps:
- Open PowerShell as Administrator and enable the WSL feature:
dism.exe /online /enable-feature /featurename:Microsoft-Windows-Subsystem-Linux /all /norestart- Enable the Virtual Machine Platform feature:
dism.exe /online /enable-feature /featurename:VirtualMachinePlatform /all /norestart- Restart your computer.
- Download and install the latest WSL2 Linux kernel update package from Microsoft’s official WSL manual installation page.
- Set WSL 2 as your default version:
wsl --set-default-version 2- Install your preferred Linux distribution from the Microsoft Store, or download a distro package manually and install it via
wsl --import. - Launch the distribution and create your UNIX user account.
This method is best suited for advanced users, IT administrators, or anyone deploying WSL across multiple machines who needs precise control over each configuration step.
Frequently Asked Questions (FAQ)
1. Is WSL free to use on Windows 11? Yes. WSL is a free, built-in Windows feature. You don’t need to purchase a license, and it works on all Windows 11 editions, including Home.
2. What’s the difference between WSL 1 and WSL 2? WSL 1 uses a translation layer to convert Linux system calls into Windows equivalents, which is lightweight but has some performance limitations with I/O operations. WSL 2 runs a real Linux kernel inside a lightweight virtual machine, offering full system call compatibility and significantly better performance.
3. Do I need Windows 11 Pro to use WSL 2? No. WSL 2 works on Windows 11 Home as well, as long as your system supports virtualization and meets the minimum version requirements.
4. How do I check which WSL version I’m using? Open PowerShell and run:
wsl --list --verboseThis shows all installed distributions and which WSL version (1 or 2) each one is using.
Conclusion
Installing WSL on Windows 11 has never been easier. For most users, the single-command method (wsl --install) is the quickest way to get a fully functional Linux environment running in minutes. If you prefer more control or a graphical setup, the Microsoft Store, Settings app, or manual DISM methods each offer reliable alternatives.
Once installed, WSL opens the door to a powerful hybrid workflow — combining Linux command-line tools, Docker, development environments, and cloud utilities with the familiarity of Windows. Pick the method that best fits your comfort level, and you’ll be running Linux inside Windows 11 in no time.





